How To Paint Kitchen Cabinets with Milk Paint
My husband and I bought our home in May 2016. By September 2017, I was done looking at our bland kitchen. So, while my husband was away for two weeks, I gave our kitchen a full makeover. While the husbands away, the wife shall play!
Spoiler alert: he loved it.
**FYI: this is a kitchen makeover, not remodel. I kept all the l cabinets, countertops, and appliances, but I gave everything a much-needed facelift!
My Supplies List
- Power Drill
- Ziploc bags
- Painters Tape
- Drop Cloths
- Paintbrush (I prefer to use Purdy Paint Brushes
)
- Sandpaper (80 and 600 strength)
- Goo Gone Adhesive Remover
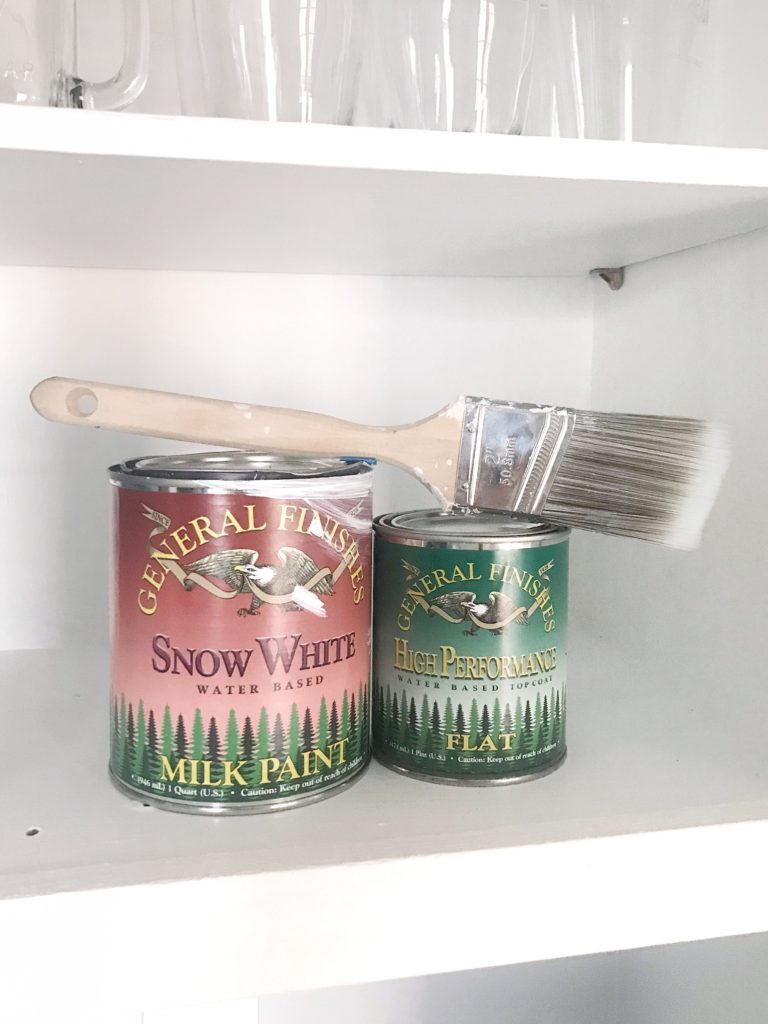
- Milk Paint: Snow White
1 quart
- Milk Paint: Queenstown Gray
1 quart
- High-PerformanceTop Coat: FLAT
1 pint
SHOP SUPPLIES HERE
Getting Started
The first thing I wanted to tackle in the kitchen were the cabinets. Our cabinets were the traditional oak wood you see in a lot of homes
For this paint project, I chose to use Milk Paint.
With milk paint, both priming and sanding are not necessary. However, I still chose to ever-so-gently sand down the cabinets because they were old and had some remaining gunk on them from over the years.
Why I Love Milk Paint:
- Easy To Apply
- Durable
- Adheres To All Surfaces
- No Brush Marks
- No Sanding or Priming
- Environmentally friendly
- Flat Finish
- No Top-Coat Needed
- Odorless When Dry
- Easily Clean Up
Want more information about milk paint? You can check out this post here which tells you everything you need to know about this great paint!
OK, here we go! Time to start painting!
Step 1: Prep the cabinets for painting
- Remove all cabinet doors, drawer fronts, and hardware
- I suggest using a power drill over a screwdriver, this is much faster and less stress on you and your arms!
- Use and label Ziploc bags to store all hardware for safekeeping’s (It can get chaotic, you don’t want to miss this step!)
- Use one bag for door screws, another for drawer screws, another for hinges, and another for knobs and/or pulls.
- Clean (and if you have to depending on your cabinets condition – lightly sand) all cabinet doors and cabinet framing hanging on the walls.
If you chose to sand, clean the cabinets one more time afterward.
Step 2: It’s time to paint!
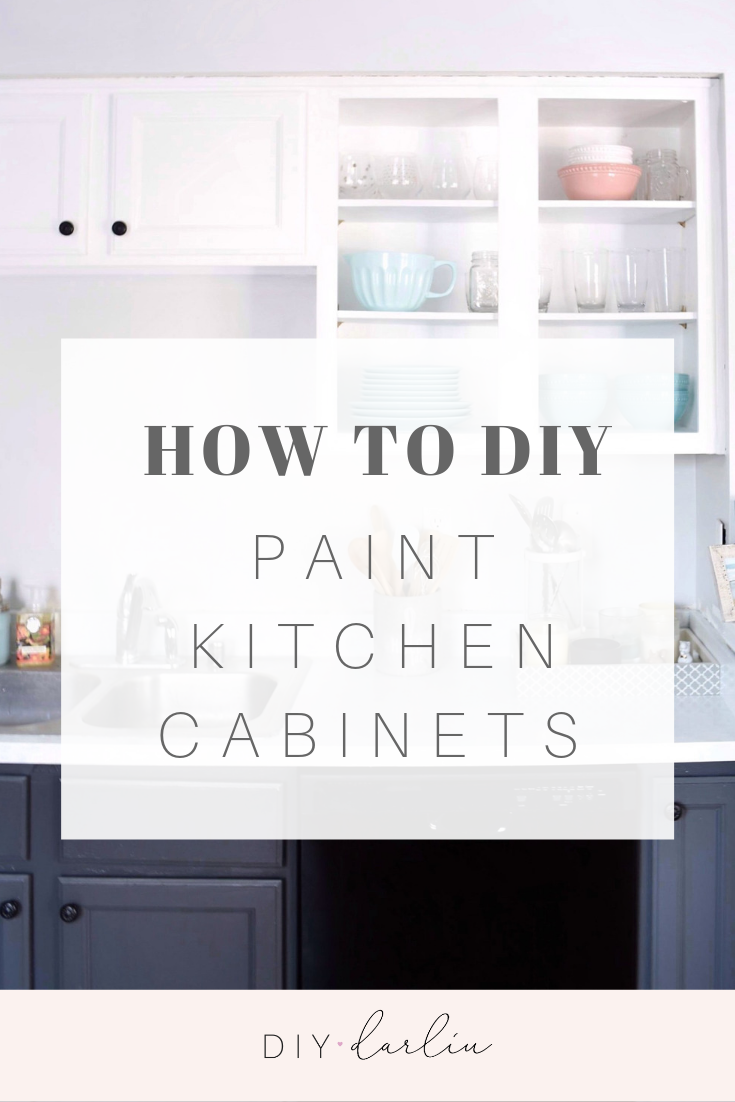
I originally planned to paint all my cabinets white. But after a lot of thought and a lot of Pinterest browsing, I chose to do my upper cabinets in Snow White and my lower cabinets in Queenstown Gray
.
This combination is exactly what I envisioned it to be!
Initially, I was afraid the Queenstown Gray would be too dark, but it was perfect. I’m glad I trusted my instinct and went with the darkest grey.
**If this option is too dark for you, there are other grey options from this brand of paint, such as Driftwood and Seagull Gray
.
For both colors, I painted two coats.
After the second coat, you will notice quite the difference in coverage. But if you can still see your old cabinet color, go ahead and throw on a third coat!
This paint dries fairly quickly, so you don’t have to wait forever in between coats.
If you have enough coverage, you can move on to the protective top coat. This step is not necessary, but if you have children or pets that are always touching or running into things, this may be beneficial for you.
Because I loved the milk paint brand so much, I chose to use its Top Coat in Flat.
Step 3: Put it all back together again!
Use the labeled Ziploc bags to easily put the cabinets back together again with the correct hinges and screws.
For an even more updated look, purchase new drawer knobs and cabinet pulls! Or, paint over your old hardware to better compliment your newly painted cabinets.
How easy was that?
Let me know if you have tried or are planning to try out this paint!


The Comments
Jamie
Pinned because we’re about to tackle our kitchen. These results were fabulous! I haven’t decided on a color yet- I’m thinking some shade of gray but I’m loving this white/grey combination! Beautiful job!
Julie Jackson
JamieThank you!! I wanted all white at first but the touch of grey was just perfect! Good luck! I’d love to see your results!