How To Make A DIY Spring Wreath


Happy springtime, everyone! The outside is finally thawing out from winter — trees and plants are blooming everywhere you look and I couldn’t be any happier! Aside from the warmer temperatures giving me the full springtime vibes, daylight savings has given me a total springtime mindset. More sunshine always equals more happiness for me. Am I right?
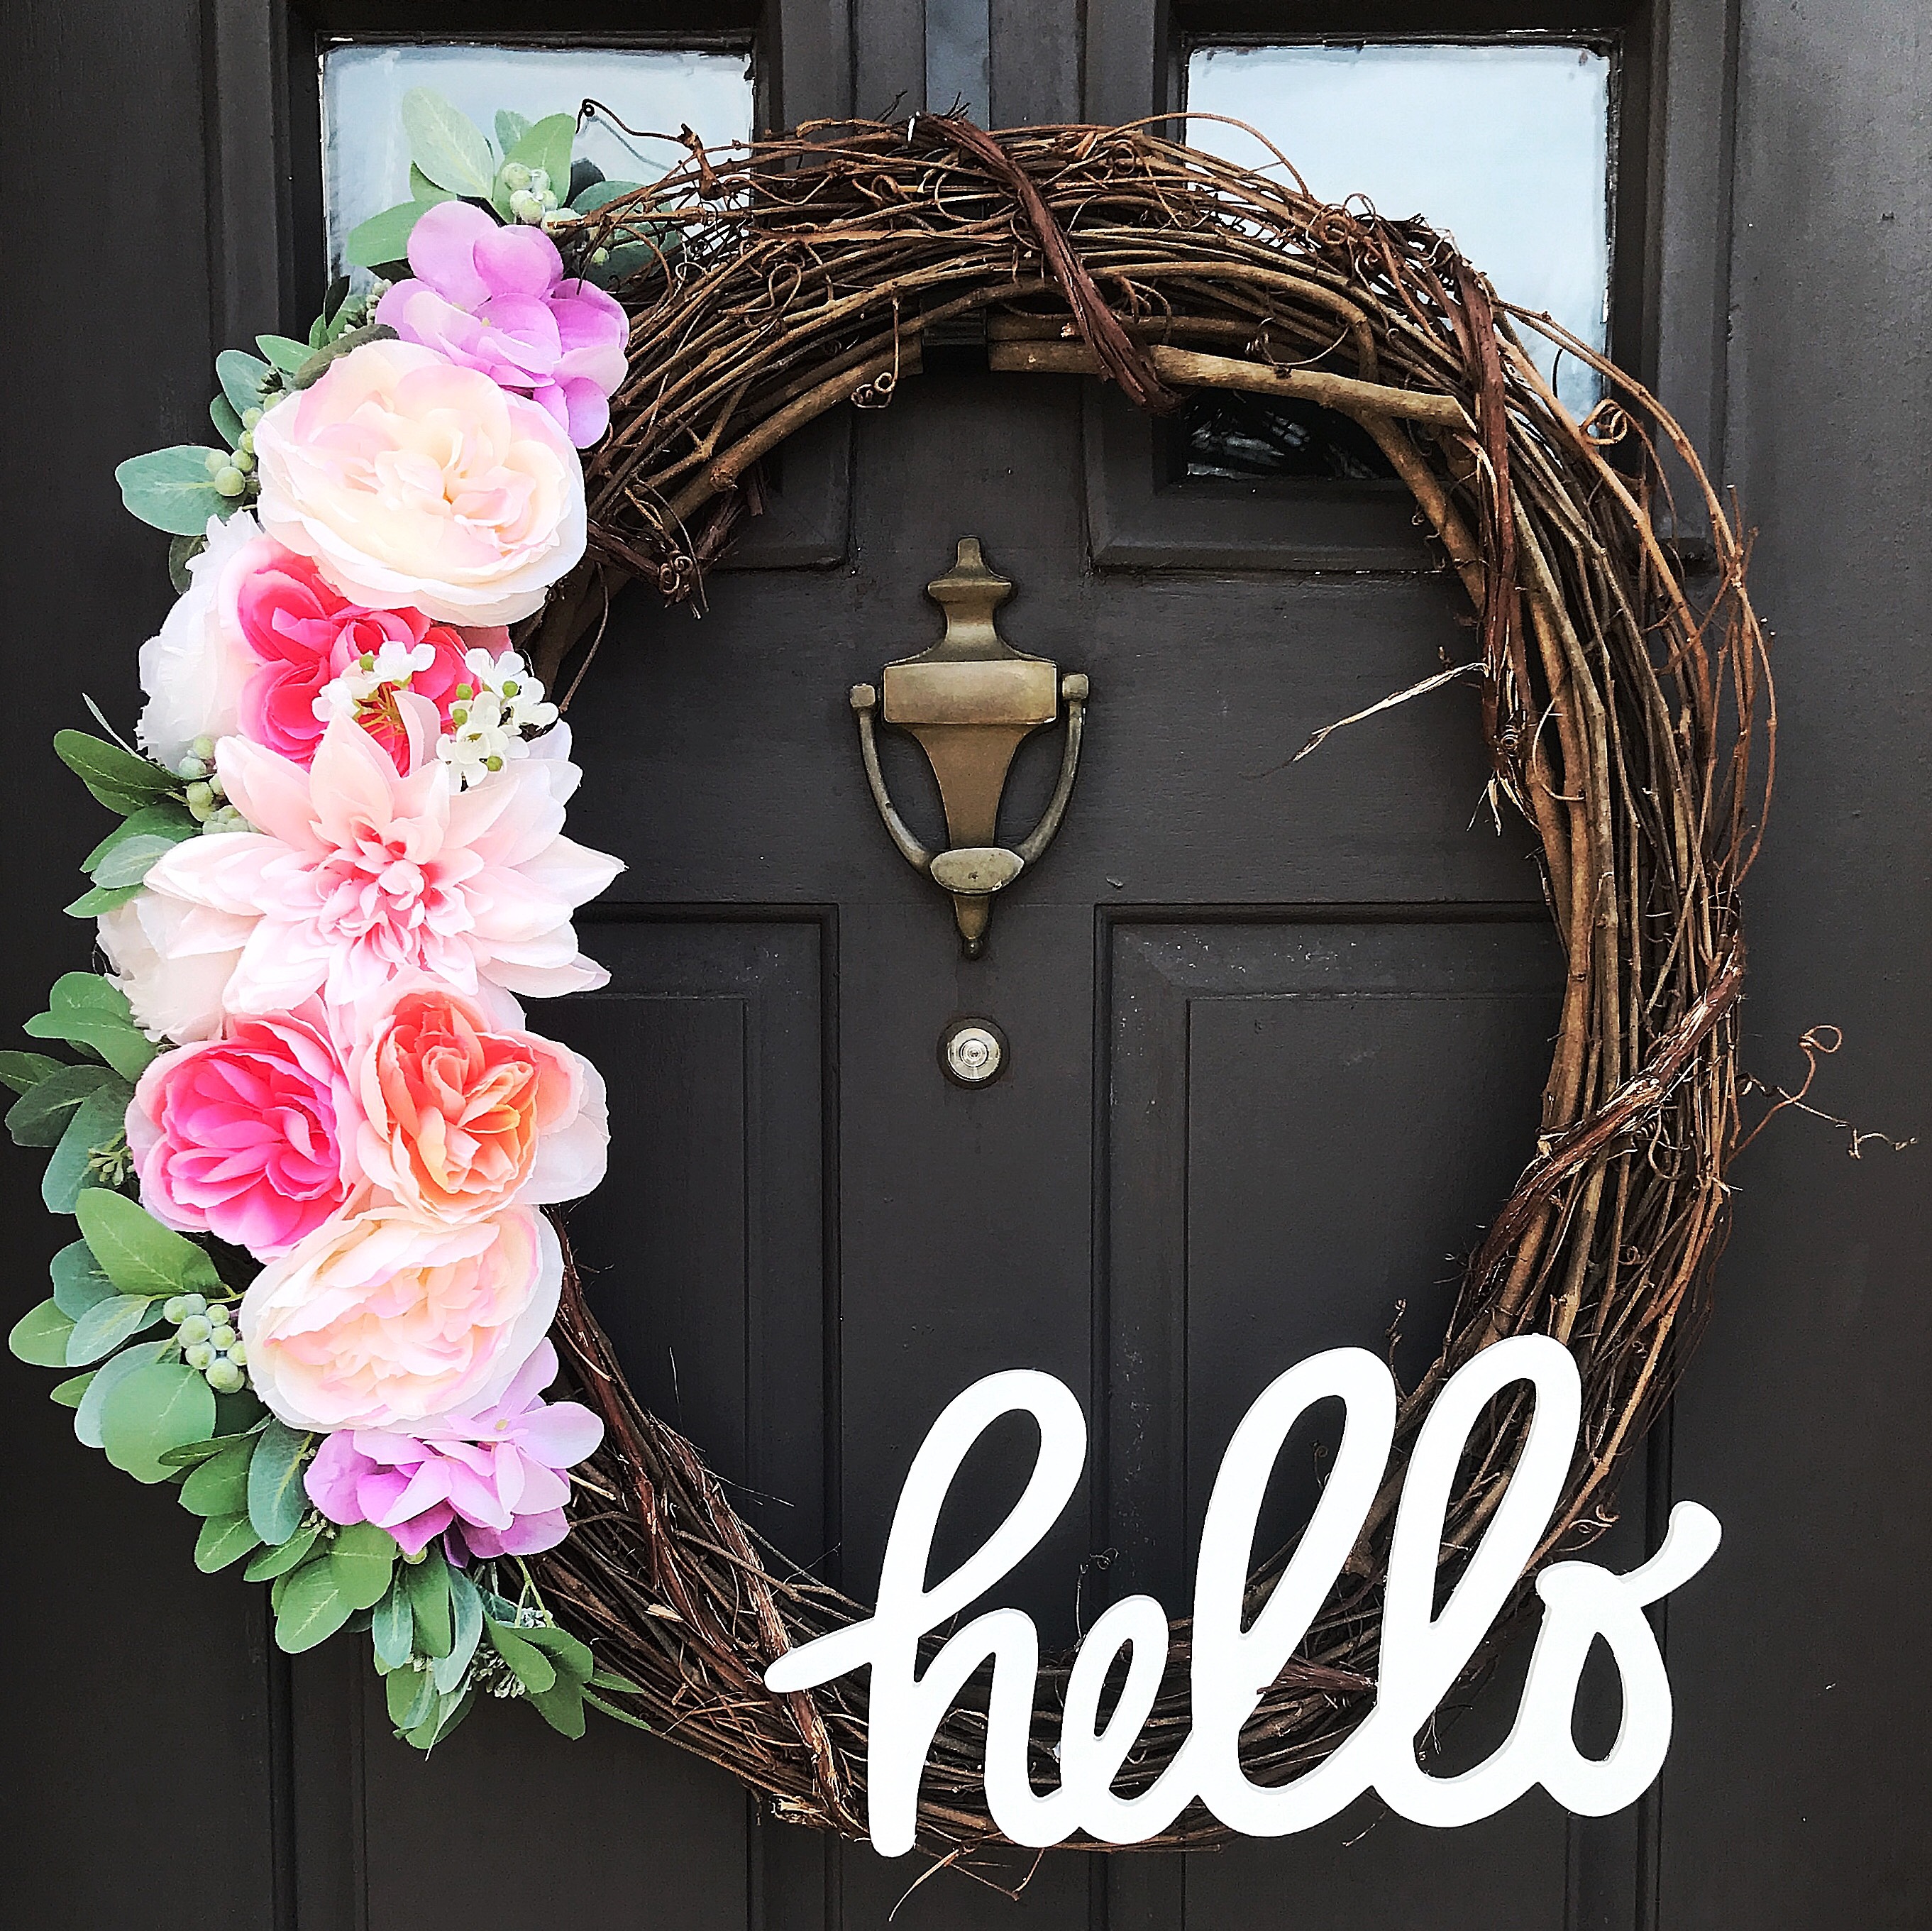
What better way to start off the beginnings of spring than by creating a DIY spring wreath? My DIY Hey Y’all its Fall Wreath was still hanging on my door… the front of my house was in desperate need of a springtime makeover. Thus, I sprang into action today (pun totally intended) and created a springtime wreath that makes me smile all day!
Remember! Following my exact steps and tips will help you create a springtime wreath in no time at all! But please change things up as much as you want (i.e. wooden saying, flower choices, wreath material, etc.) to create the springtime wreath you desire.
The following product list has the exact products I used but I have offered a few alternatives from both Amazon and Etsy for your convenience!
Product List
- Grapevine Wreath (Hobby Lobby 24″)
- Grapevine Wreath (Amazon 18″)
- HELLO cutout (Hobby Lobby)
- HELLO cutout (Amazon)
- HELLO cutout (Etsy)
Flowers (Hobby Lobby)out of stock- Flowers Delilah (Amazon)
- Flowers Peony (Amazon)
- Paint
- Brush
- Floral Cutters
- Mini Hot Glue Gun

Step 1: Gather Supplies
For my spring wreath, I chose to use a 24” grapevine wreath and a 13″ HELLO cutout, both from Hobby Lobby (who doesn’t love this place!?). But I would chose a wreath size based on the the look and size of your door. For the flowers, I went with an assortment of artificial pinks — dahlias, peonies, ect. Most craft stores (and Amazon!) will have a great selection for you to chose from at all times.
Before I started assembling the wreath I needed to paint the HELLO cutout. If you find a cutout already painted in a color you like you can skip to step 3! Otherwise, let’s go to step 2!

Step 2: Paint Cutout
I chose to paint my HELLO cutout white because I have a dark front door; this really makes the HELLO pop! Always choose a color that will compliment your front door and flowers.
For the paint, I went with a favorite of mine: General Finishes: Snow White. Honestly, I already had a can at home leftover from other projects, like my kitchen makeover. This paint dries very fast, and since I wanted my wreath to be complete right away, this paint was the way to go for me. I used my trusty Purdy Paint Brushes (the smallest one, of course) – this is a brand I love and highly recommend. I’ve used all sizes for numerous projects (and will continue to use for future projects!).


Step 3: Trim Flowers
I trimmed all of the flowers from the bundles and left about 2 inches of stem on each. To easily trim the flowers I like to use a floral cutter, it truly makes cutting artificial flowers a breeze.
Because I used a grapevine wreath, having some leftover stem on the flowers made it super easy to keep the flowers in place on the wreath while I played with the flowers positioning. Once you have your flowers arranged the way you want, it’s time to hot glue! I prefer to use a mini hot glue gun; I find it easier to use when doing projects like this!

Step 4: Hot Glue (my best friend)
Gently move the flower petals out of the way without removing the flowers from the wreath (you don’t want to ruin your masterpiece). Allow the hot glue to get on the stems and wreath while holding the flowers securely in place. Add as little or as much glue as you want, as long as the flowers do not move when the wreath is lifted.
When dry (if painted) hot glue the cutout wherever you chose. Before I glued the HELLO cutout, I hung the wreath on my front door and asked my husband to move the cutout all around the wreath until I found a spot I was happy with. Seeing the wreath hanging up at a distance can be much different than seeing it close up and laying down. If you have any helping hands at home, ask for assistance with this part.
ALL DONE!
And now, the spring wreath is complete! I hope this brings some sunshine into your home! Have fun, my fellow DIYers! I would love to hear about your springtime wreaths!


Product List (recap)
- Grapevine Wreath (Hobby Lobby 24″)
- Grapevine Wreath (Amazon 18″)
- HELLO cutout (Hobby Lobby)
- HELLO cutout (Amazon)
- HELLO cutout (Etsy)
Flowers (Hobby Lobby)out of stock- Flowers Delilah (Amazon)
- Flowers Peony (Amazon)
- Paint
- Brush
- Floral Cutters
- Mini Hot Glue Gun


The Comments
Elaine C Strong
Hello Springtime!!! What a beautiful wreath and a cheery welcome to warmer days. I will make this too — thanks Darlin’ for posting!
Julie Jackson
Elaine C StrongSo happy you like it! Have fun making one too! Happy Spring!