
Hello, giant blank space on the wall. Have you ever wanted to take over vacant spaces and create a visually dynamic gallery wall? You’re in luck. Gallery walls are truly a timeless way to display all things art, photography, decor, and personal memorabilia.
Filling an entire wall is a visually engaging way to celebrate your most-favorite collected art and decor. However, the thought of creating a gallery wall can at first seem like a daunting and overwhelming task. Where do you even begin, right? Don’t let the fear of making mistakes stop you from creating the showstopping gallery wall of your dreams.
This post could contain affiliate links, which means I would receive a small commission at no cost to you should you shop using the links.
Today we are taking the best advice from a few home decor professionals who have done and seen it all when it comes to gallery walls. We’ve combined their best tips and tricks to get you started with the best frame of mind. Although there’s no exact science when creating a gallery wall, these tips will push you in the right direction and make the planning and execution process much easier and more enjoyable.
After all, you should absolutely enjoy your gallery wall. It should be a complement to you, your home, and even your personal memories. Take notes below and have fun removing that daunting blank space and turning it into a one-of-a-kind masterpiece.
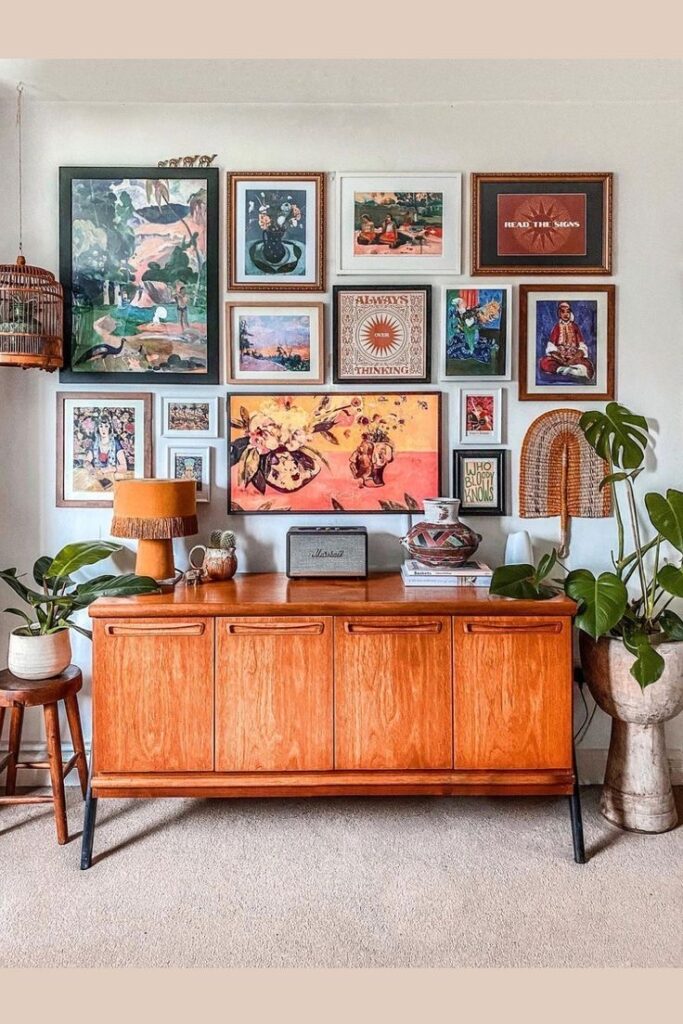
Create a “Floor Layout”
Before you start hanging with reckless abandonment (like I absolutely would be tempted to do), try to lay your gallery wall out on the floor. This allows you to see all the pieces together without committing to nails in the wall. Measure out the exact dimensions of the wall space and lay tape or string or books or any other temporary border to see exactly how it will look in the desired space. This is an easy way to rearrange the pieces as much as you want before the hammer and nails.
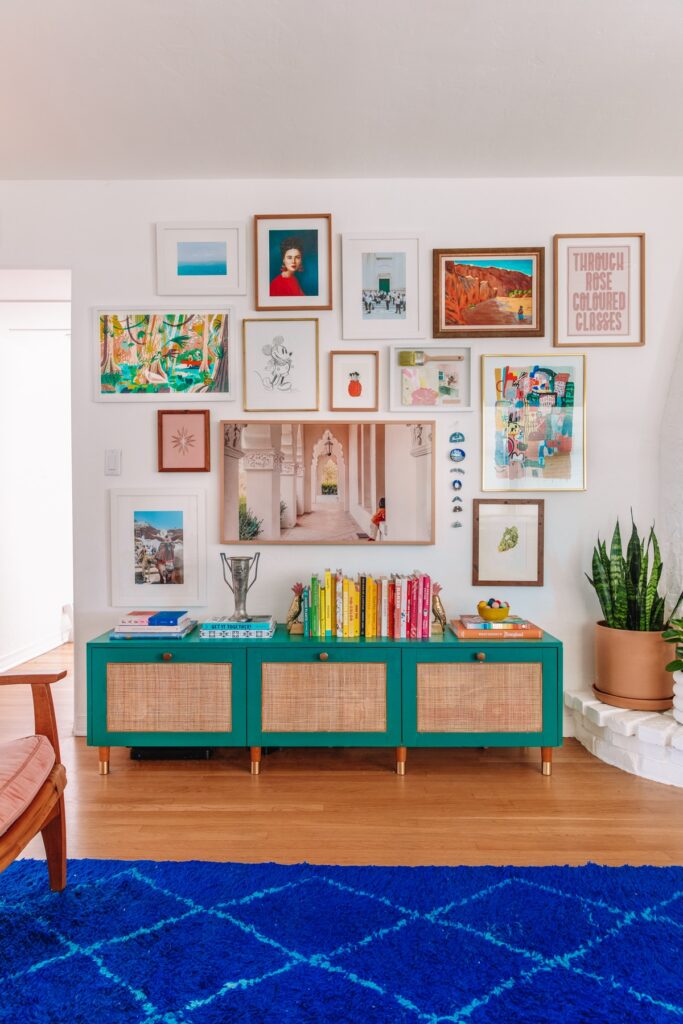
Create a “Wall Layout”
If you don’t love the idea of creating the “floor layout” create a wall layout instead. There are various ways to do this, and the right way is whatever way you’re most satisfied with. Use blue painter’s tape to make faux frames on the wall. Or, cut out wrapping paper, kraft paper, or any kind of paper that will stand out against the wall into the exact shapes and sizes of your art and hang them up with tape.
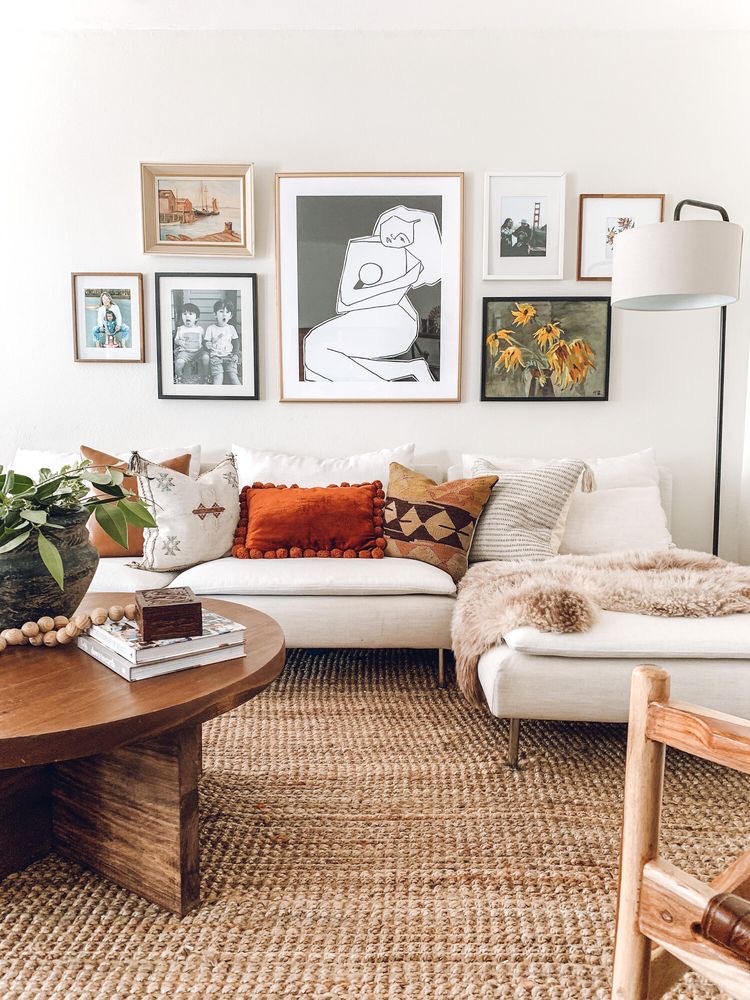
Choose A Color Palette
To create a cohesive look, choose art and decor that belong in the same color palette and repeat the same colors throughout. Of course, this is not necessary, especially if you want to use all personal photos and keepsakes that greatly vary in color. One easy way to bring all pieces together, especially personal, is to make them black and white. Kelly of Studio DIY says “if you have any artwork that has black and white throughout, going black and white with your family photos can bring everything together.”
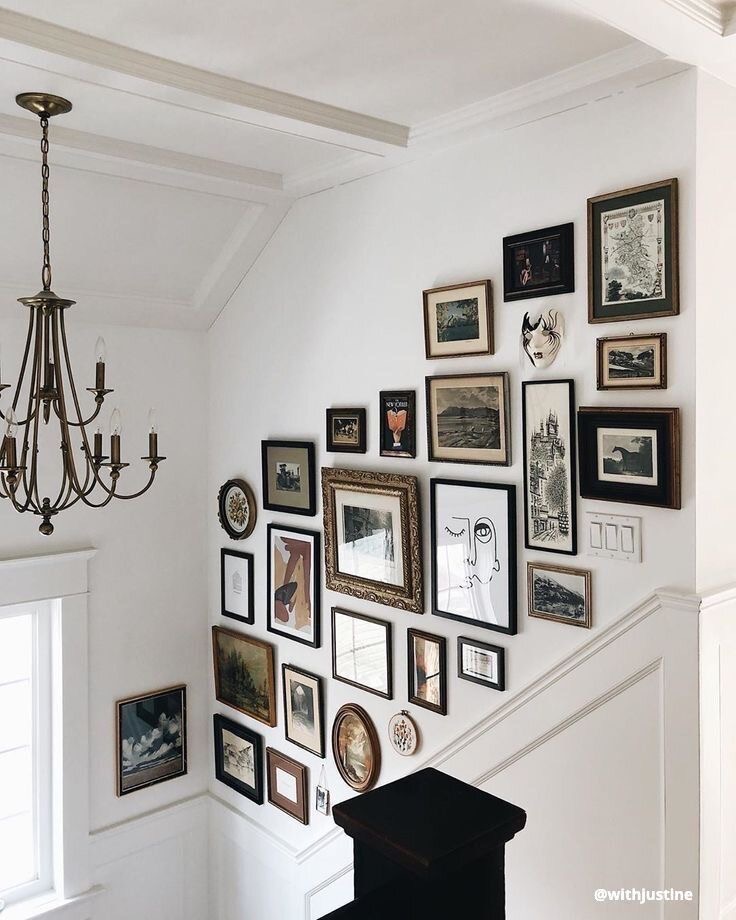
Varying Frames
Just as your art, photography, and decor will vary, your frames can too. Of course, if you want to create a coordinating aesthetic you may want to opt for identical frames, or at least all the same colors. As Holly from The Financial Diet put it best, “you can either get a bunch in the same color to create more unity, or you can mix and match them for a more collected over time feeling.” Additionally, mix the sizes and orientations of the frames to create a more dynamic look.
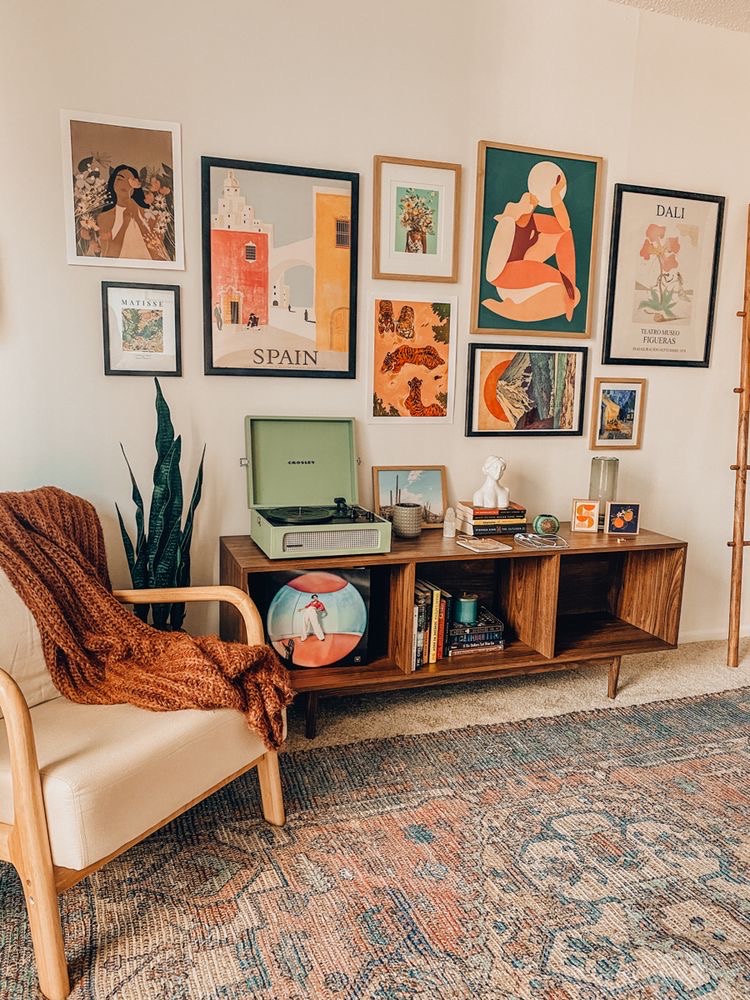
Not Everything Needs A Frame
To keep your gallery wall feeling interesting try mixing in art, photos, and of course decor (the easiest option) without the use of a frame. “A gallery wall is much more interesting if it isn’t only art prints in frames, it brings a sense of tactility to your wall, inviting the eye to explore different layers three-dimensionally.” (source)
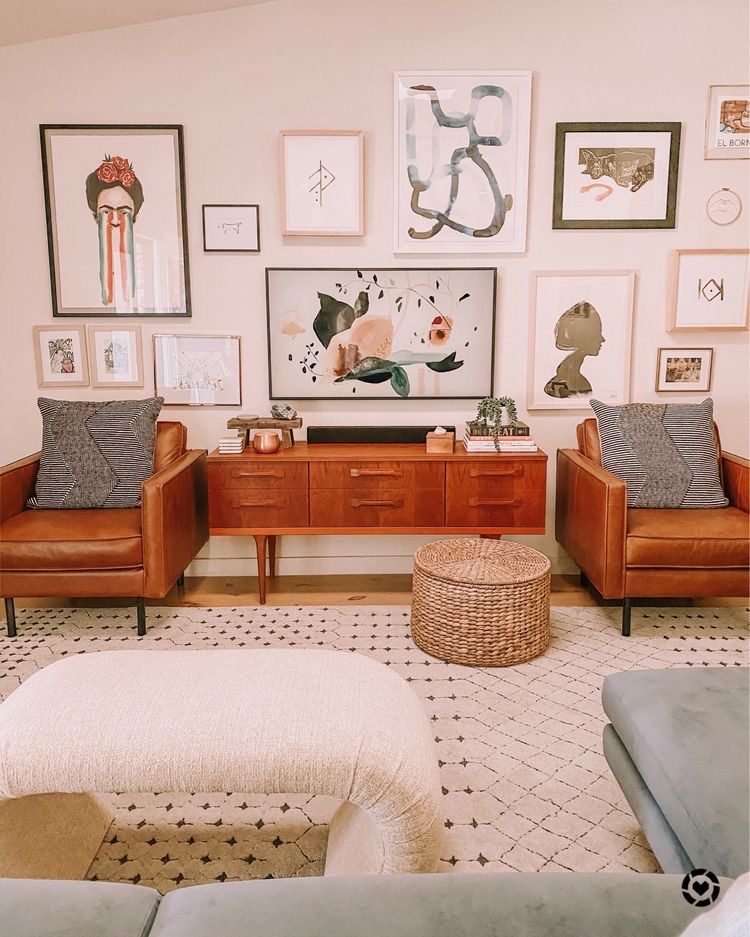
Playable Spacing
As you’ll see when creating your test layouts, keeping a somewhat even distance between all the art gives it a flawless, visually stunning execution. Even if your spacing is not pinpointed exactly, eyeballing a standard spacing that you can continue to follow throughout will be helpful for the overall look and feel. Kris of Driven By Decor recommends “as a good rule of thumb, about 2-3″ between pieces is a great place to start but then play with your pieces and move them around until they look right to your eye.”
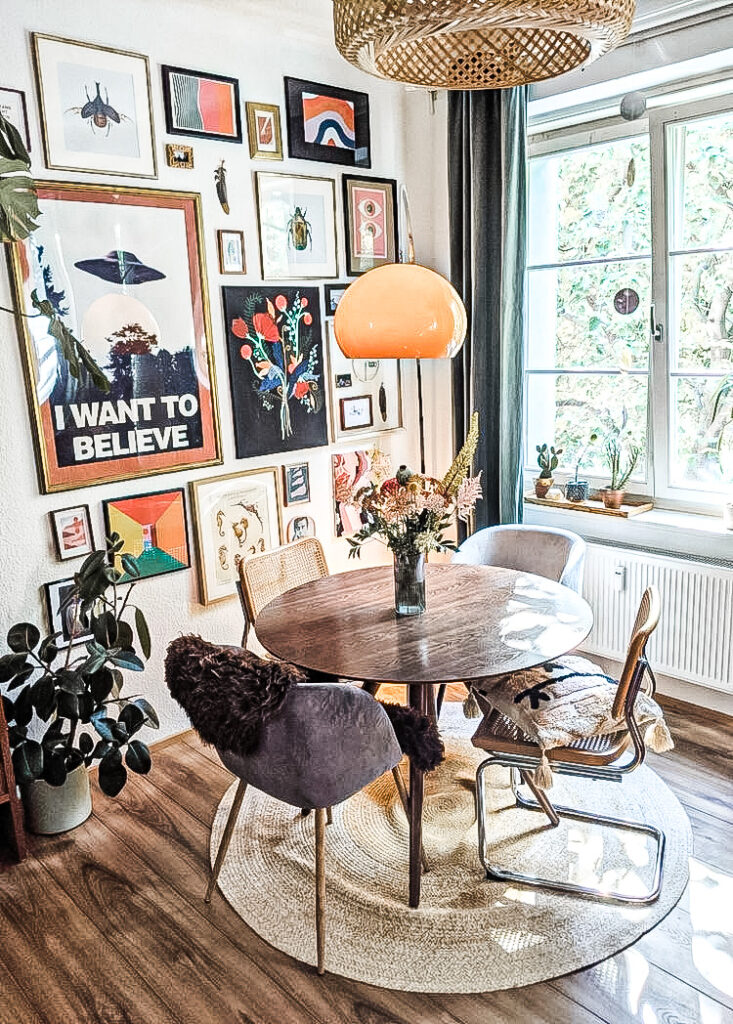
Large Piece Off Center
Start building your gallery wall by putting your largest piece of art up first and working around it with the smaller ones. This helps create and maintain balance throughout. The best starting point for your large piece is off-center. Why off-center? Emily of Style by Emily Henderson says “so your eye travels around the gallery wall, rather than slamming straight to the middle of it.”
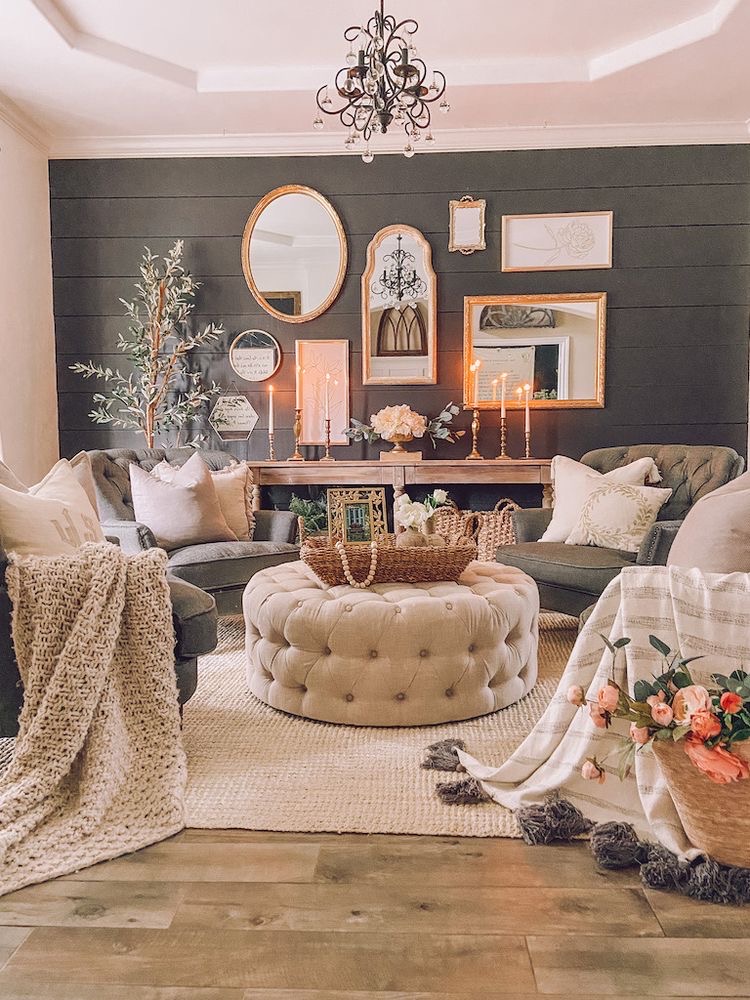
Add A Mirror
To add more visual interest to the gallery wall consider adding a mirror or two. Alex Bass suggests mirrors “make the space feel larger and the art pieces look more dynamic.” Ready to take your blank wall to the next level? Consider creating an entire gallery wall out of only mirrors. With the use of all different sizes, shapes, and colors an all-mirror gallery wall can be a stunning work of art. Check out Life By LeAnna (photo above) for major inspiration.
Thank you for taking the time to read! If we have mistagged a photo of yours or you want a photo removed please email us.
