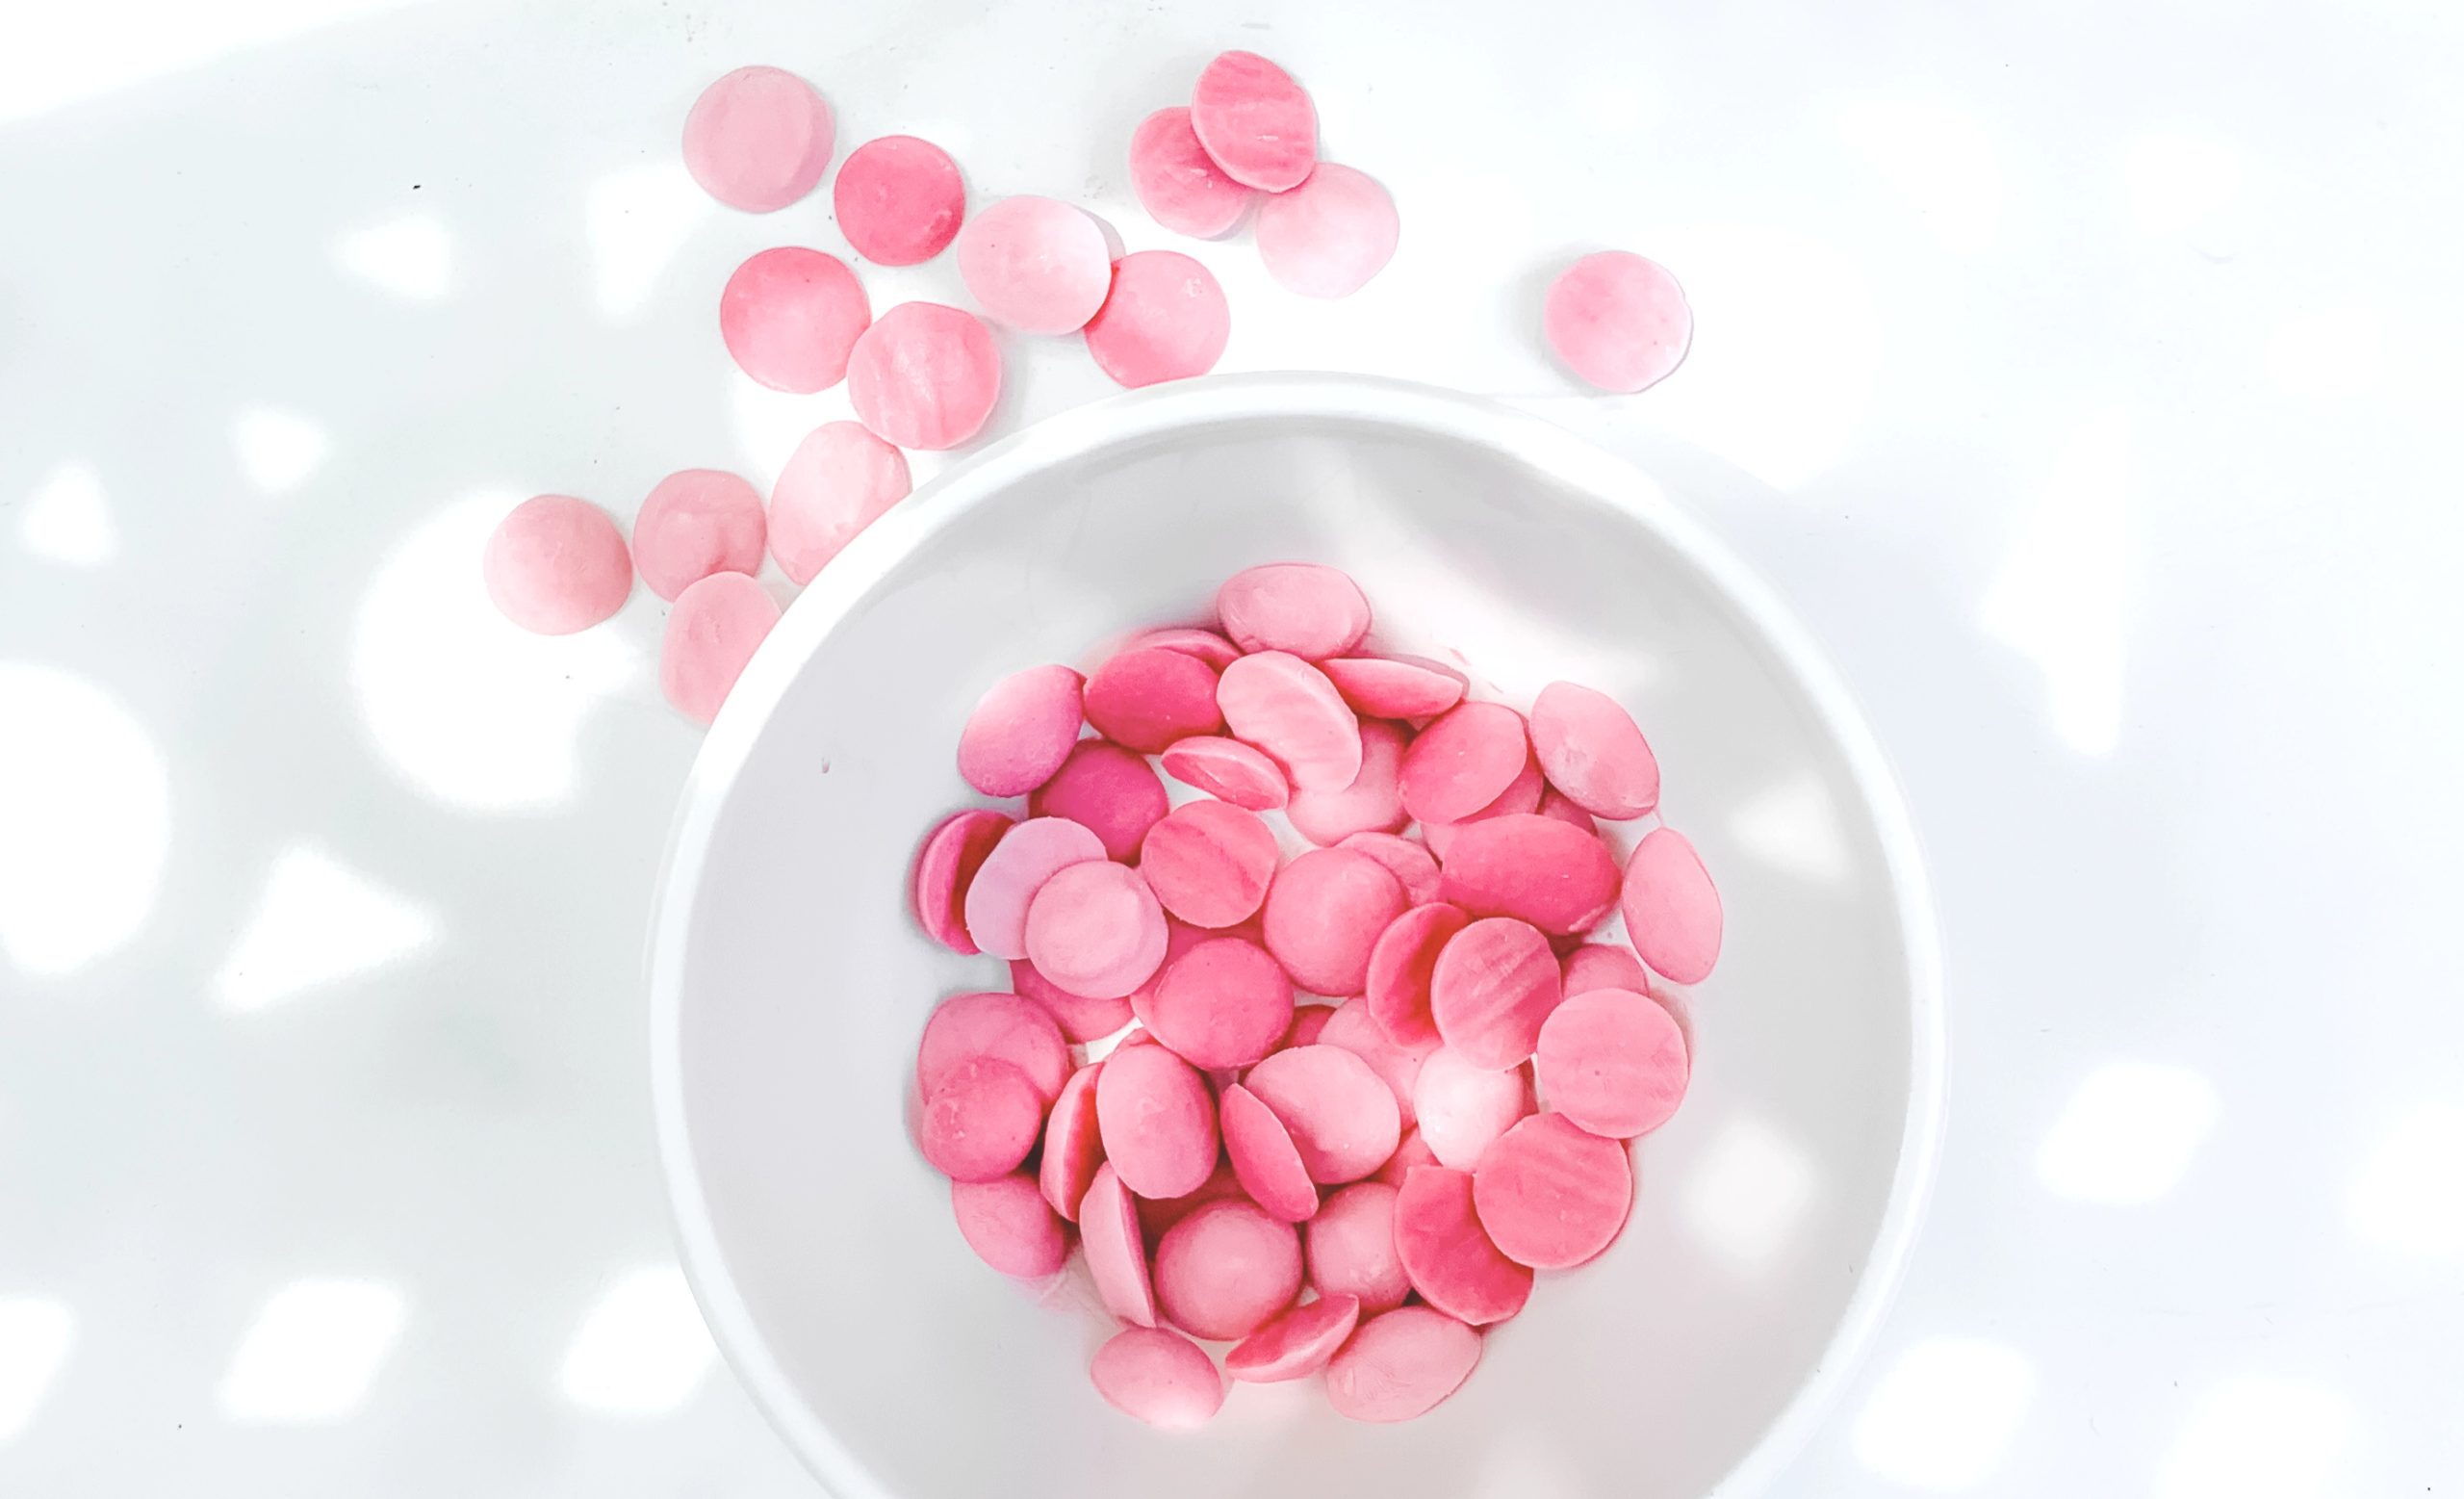
Hello, loves! Today I am happy to share with you a super easy snack you can make at any time for your baby and/or toddler — homemade yogurt melts! They’re so easy to make that I typically throw together a batch when naptime starts and it only takes about 15 minutes of my time. Your time during naptime is precious, so I wouldn’t recommend making the yogurt melts then if I didn’t truly mean they are easy and quick!
I love making these for my son. He’s currently 18 months old, but I’ve been making them for months now. They’ve been the perfect summer snack to help him cool off and assist with his never-ending appetite. But they are also such a perfect way to help soothe teething gums — he currently has five new teeth pushing through! Poor little drooling monster. Needless to say, I’ve made my fair share of yogurt melts all summer long. Let’s get started!

What You Need
YOGURT of your choosing
BABY FOOD (jar, pouch, homemade)
BOWL + MIXING SPOON
BAKING SHEET or CUTTING BOARD
WAX PAPER
ZIPLOCK BAG (optional)
There are a few ways you can prepare the homemade yogurt melts. You can use pre-made baby food in a jar or pouch, which is a great way to use up any baby food you have leftover that your little one isn’t interested in anymore. Or, you can make your own baby food by blending together your own fruit or vegetable mix. Also, the choice of yogurt is entirely up to you. I prefer to use vanilla greek yogurt. My little one LOVES it.
How To Make Homemade Yogurt Melts
To begin making the yogurt melts, first mix together the YOGURT and BABY FOOD in a BOWL. The less baby food you add, the thicker the mix will be. This is important to note because if the mix is too thin and runny it will be much more difficult to create the melts.
Once you have your desired mixture, decide if you want to create the melts by using a ZIPLOCK BAG (with the corner cut) or a small spoon — I find a baby feeding spoon to be an ideal size. If your mixture is on the thinner side, I recommend using the spoon. The ziplock bag method can be a disaster if the mixture is too thin. But it’s perfect and fast if your mixture is on the thicker side (more yogurt than baby food).
Place a piece of WAX PAPER on a BAKING SHEET or CUTTING BOARD (or whatever your heart desires) and scoop with a spoon or squeeze out of the ziplock bag the mixture. Make the yogurt melts as small or large as you want! You know what your baby or toddler prefers best.
Place the melts in the freezer for at least two hours (perfect snack for when naptime ends) or let them chill overnight if you make them in the evening. And that’s it! Super easy, right?

To create varying shades of melts with the same mixture — first, add a small amount of baby food to the yogurt and scoop/pour out a few melts to the baking sheet. Add more baby food to the yogurt mixture, creating a deeper shade, and scoop/pour out a few melts — repeat until everything is used up. Just remember, the last melts you create with the most baby food will be much runnier than the first mixture of melts.
Yogurt melts are the perfect snack for hot summer days or any time of the year when your little one has sore, teething gums. I hope your little one enjoys it (and you as well, I know you will snack on them too!). Enjoy!
